
Our Process!
-
This stage includes getting material on site, putting up plastic, moving furniture(if applicable and discussed).
-
If there's any demo to be done it will come next and this will include the removal and disposal of any material and in cases where any structural repairs need to be made then they will happen at this stage if possible.
-
Any flooring that is to be installed/replaced will go in at this stage, installation methods will vary depending on product and circumstance (see our floor picking guide for more explanation on installation methods for different products).
-
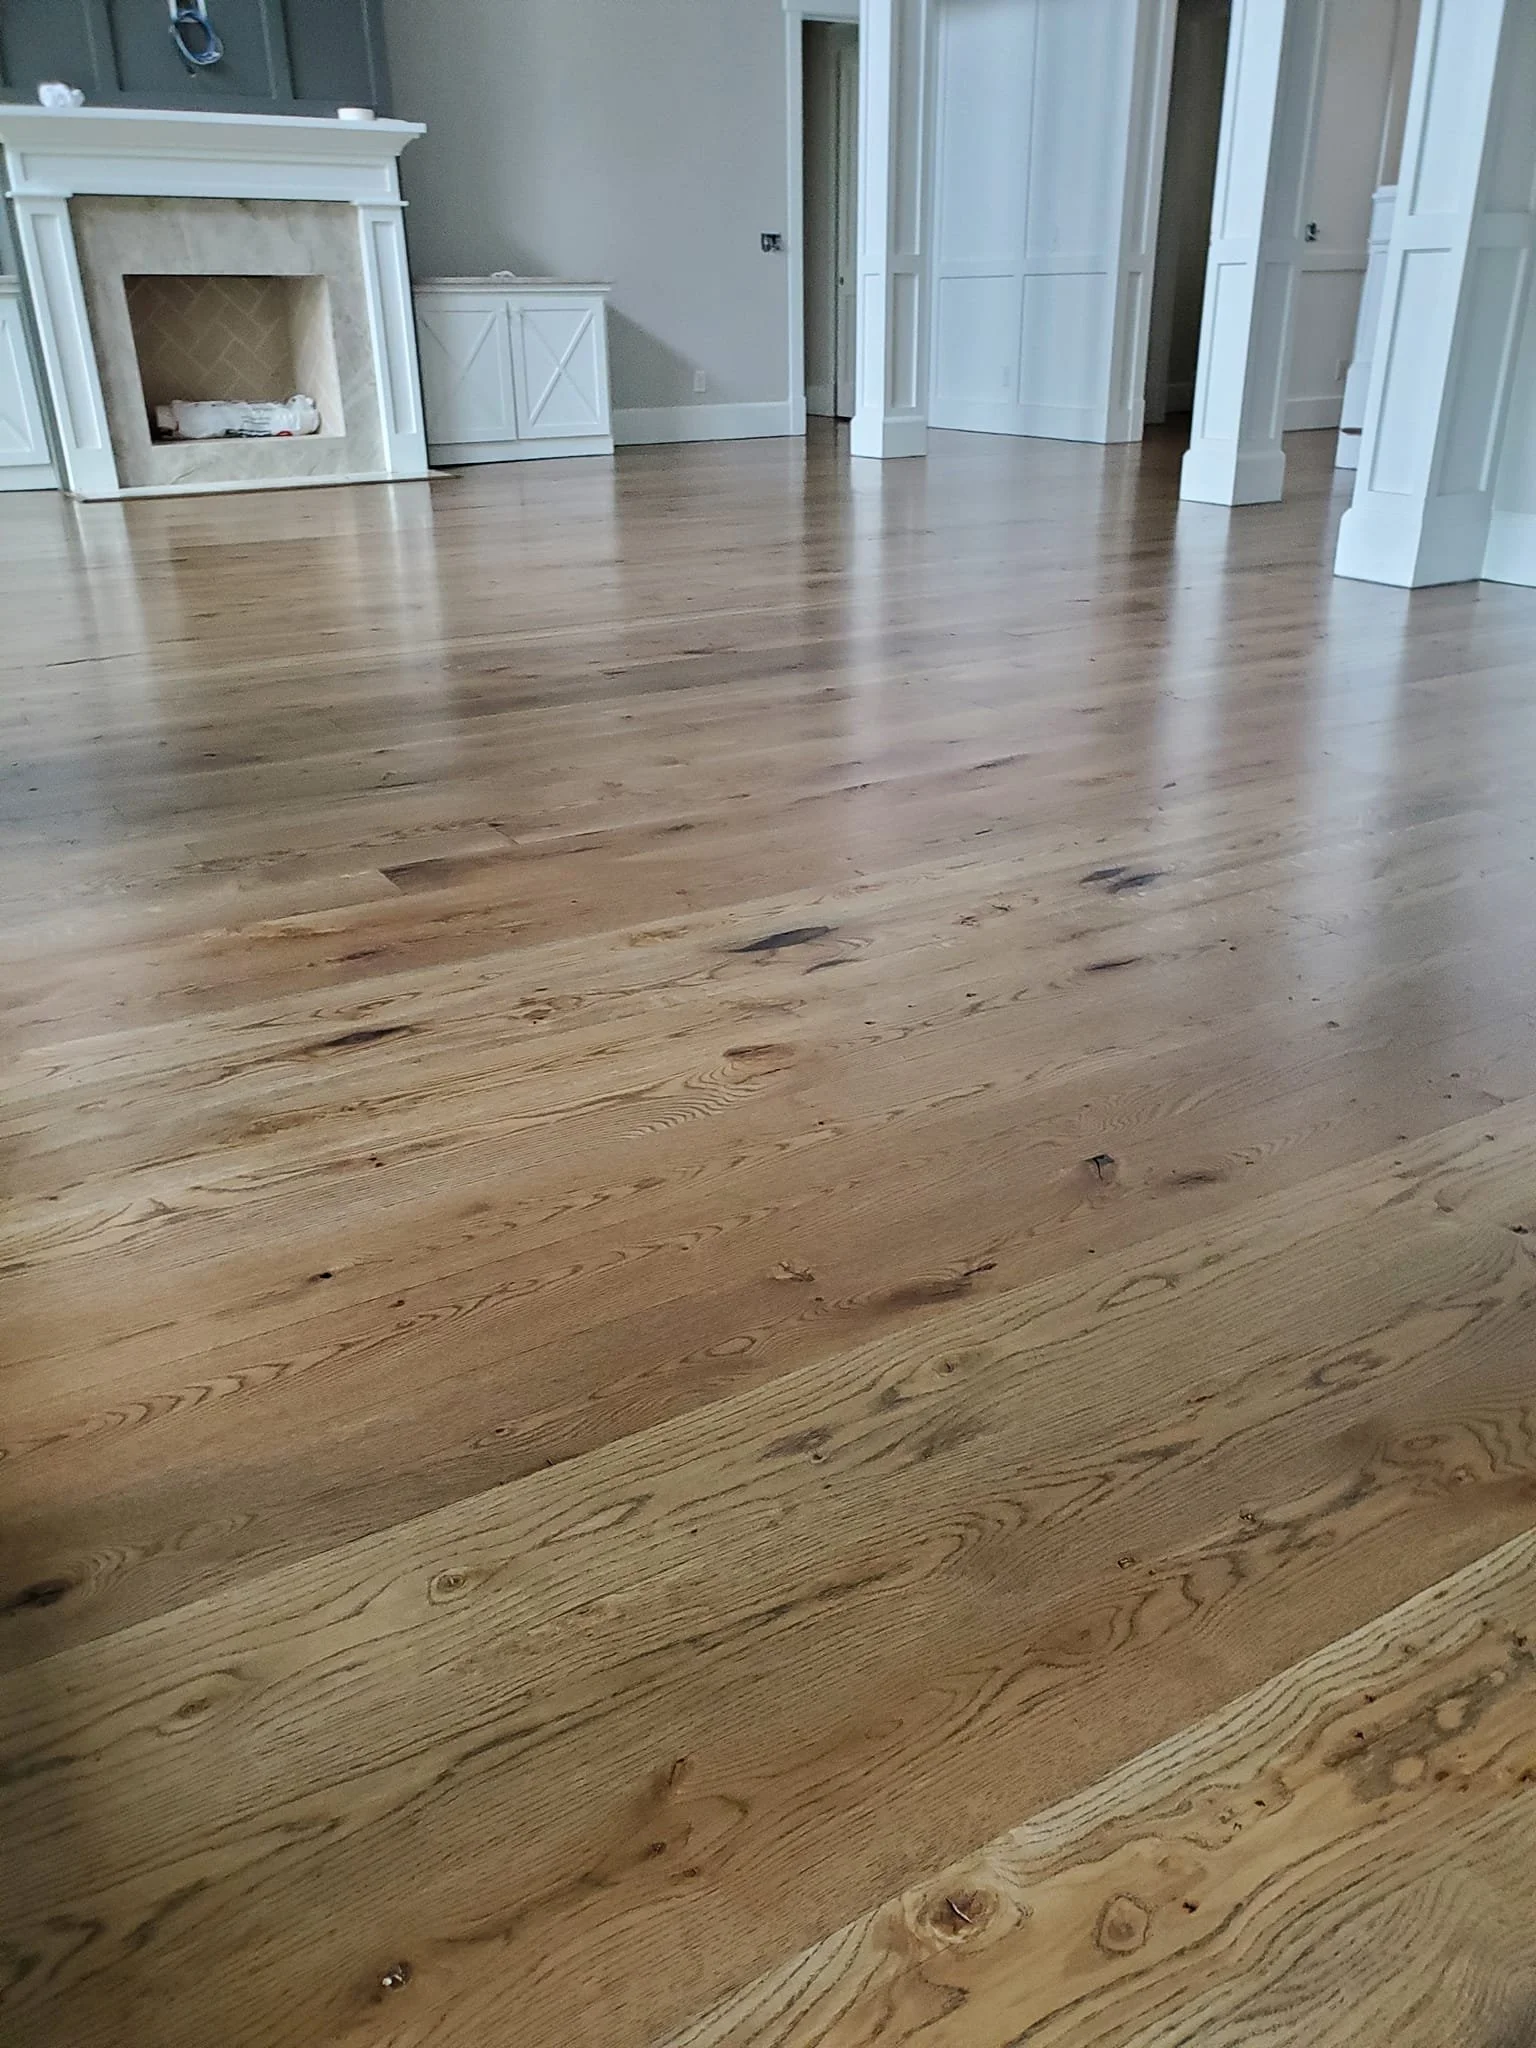
At the beginning of this stage we start with filling any holes/cracks with filler. Then we start sanding with a drum sander, after -which a flooring edger is used for the perimeter of the room, then a walk behind belt sander is used on each floor. After all the heavy sanding is complete we finish each sanding job working up to grit with screens on a flooring buffer.
-
After all the sanding is complete each floor is vacuumed thoroughly then swiffed to make sure there is no grit or dust on the floor. At this point if we’re trying to achieve a certain color the floor can be water-popped which opens the wood grain back up after all the sanding and makes the floor absorb the stain a touch darker, water-popping extends the job sometimes by an extra day to allow drying time.
-
Next is the fun part, the color you pick out from either our website or through stain samples we can put on the floor is then buffed into the floor which provides a uniform look (no blotchiness). And the stain we use is a stain and sealer all in one product. Then depending on drying time we put on the first coat of finish.
-
After the first coat has dried we buff the floor with a high grit screen then buff it one final time with a buffer pad and hand sand all the edges with a high grit sandpaper. At this stage trim and transitions will be stained and installed. Also any loose plastic will be taken down to prevent any dust or grit from getting in the final finish. After which the floors are vacuumed and swiffed with a microfiber pad. Lastly the final coat of finish is applied to your floor with the sheen of your choosing.
-
After our work is done the only thing left to do is to take care of your beautiful new floors! We recommend to put stick-on felt pad on the feet of any furniture, especially furniture with the chance to move! For cleaning we recommend using a swiffer and for messy situations we like to make sure that the only thing that goes on the floors is soap and water for cleaning! There are lots of cleaning products, and products marketed to restore floors that just end up leaving the floors in worse condition. Bona products are also acceptable! Finally our last bit of advice for keeping your floors looking great for years to come is to use rugs in high traffic areas to prevent wear from showing, and taking your shoes off at the door helps them last longer too!